


This tutorial is going to take you through the steps of creating a simple Web Map using OpenLayers. OpenLayers is a Javascript Library for creating intuitive web-based maps for manipulating vector and raster data. OpenLayers is open source and has a large community making it easy to get started with.
Installation
In this tutorial, we will use Vite for running the application, so we need to make sure we have npm installed. This link describes the steps to setup node.js and npm using the node version manager (nvm)
Once we've set up npm, run the following command: npm init to create a package.json file
After that, we install Openlayers by running npm install ol and with that, Openlayers is set up. The last thing we need to do is to install vite which we will use for running our application locally so we just run: npm install vite. All our dependencies are installed and we can now get into the code.
Setting Up the Project Files
In this project, we will only use HTML, CSS and JavaScript to make this as simple as possible. You can go ahead and first start with setting up the index.html page shown below:
<!DOCTYPE html>
<html lang="en">
<head>
    <meta charset="UTF-8">
    <meta name="viewport" content="width=device-width, initial-scale=1.0">
    <title>OpenLayers Javascript Tutorial</title>
    <link rel="stylesheet" href="./styles.css">
</head>
<body>
    <div id="map"></div>
</body>
<script src="./main.js" type="module"></script>
</html>
The map is going to be rendered in the "map" div element. We are also including our script.js file which is going to be the entry point of the map.
Next, we set up the main.js like so:
import Map from "ol/Map";
import View from "ol/View";
import OSM from 'ol/source/OSM';
import TileLayer from "ol/layer/Tile";
import { fromLonLat} from "ol/proj";

new Map({
    target: "map",
    layers: [
        new TileLayer({
            source: new OSM()
        })
    ],
    view: new View({
        center: fromLonLat([37.9083264, 0.1768696]),
        zoom: 6,
        minZoom: 2,
        maxZoom: 20
    })
});

console.log('Initializing Map...');
There is a lot to dissect here but we'll go through that. Firstly, for a map to be rendered in OpenLayers, it has to have layers, a view and a target. Layers are collections of geographical data, a view is the visual representation of the map and a target is the html element that will render the map defined. More information can be found on the OpenLayers official website: OpenLayers API
In the view attribute, the fromLonLat() method will create a map with the centre being at those coordinates in longitude and latitude which is advisable.
OSM is one of the many types of base-maps used for creating maps, there are others like Google Satellite, Microsoft Bing Maps, Mapbox etc. OpenLayers by default uses Open Street Map(OSM).
Lastly, we define our styles.css file
@import "node_modules/ol/ol.css";

html,
body {
  margin: 0;
  height: 100%;
}

#map {
    position: absolute;
    top: 0;
    bottom: 0;
    width: 100%;
}
At the top of the file, we import the 'ol/ol.css' file since it has the styling for the OpenLayers components. Please note that the width and the height of the map need to be set otherwise the map will not render.
Finally, we run the project: npm run dev and access the map at http://localhost:5173/
The final product:
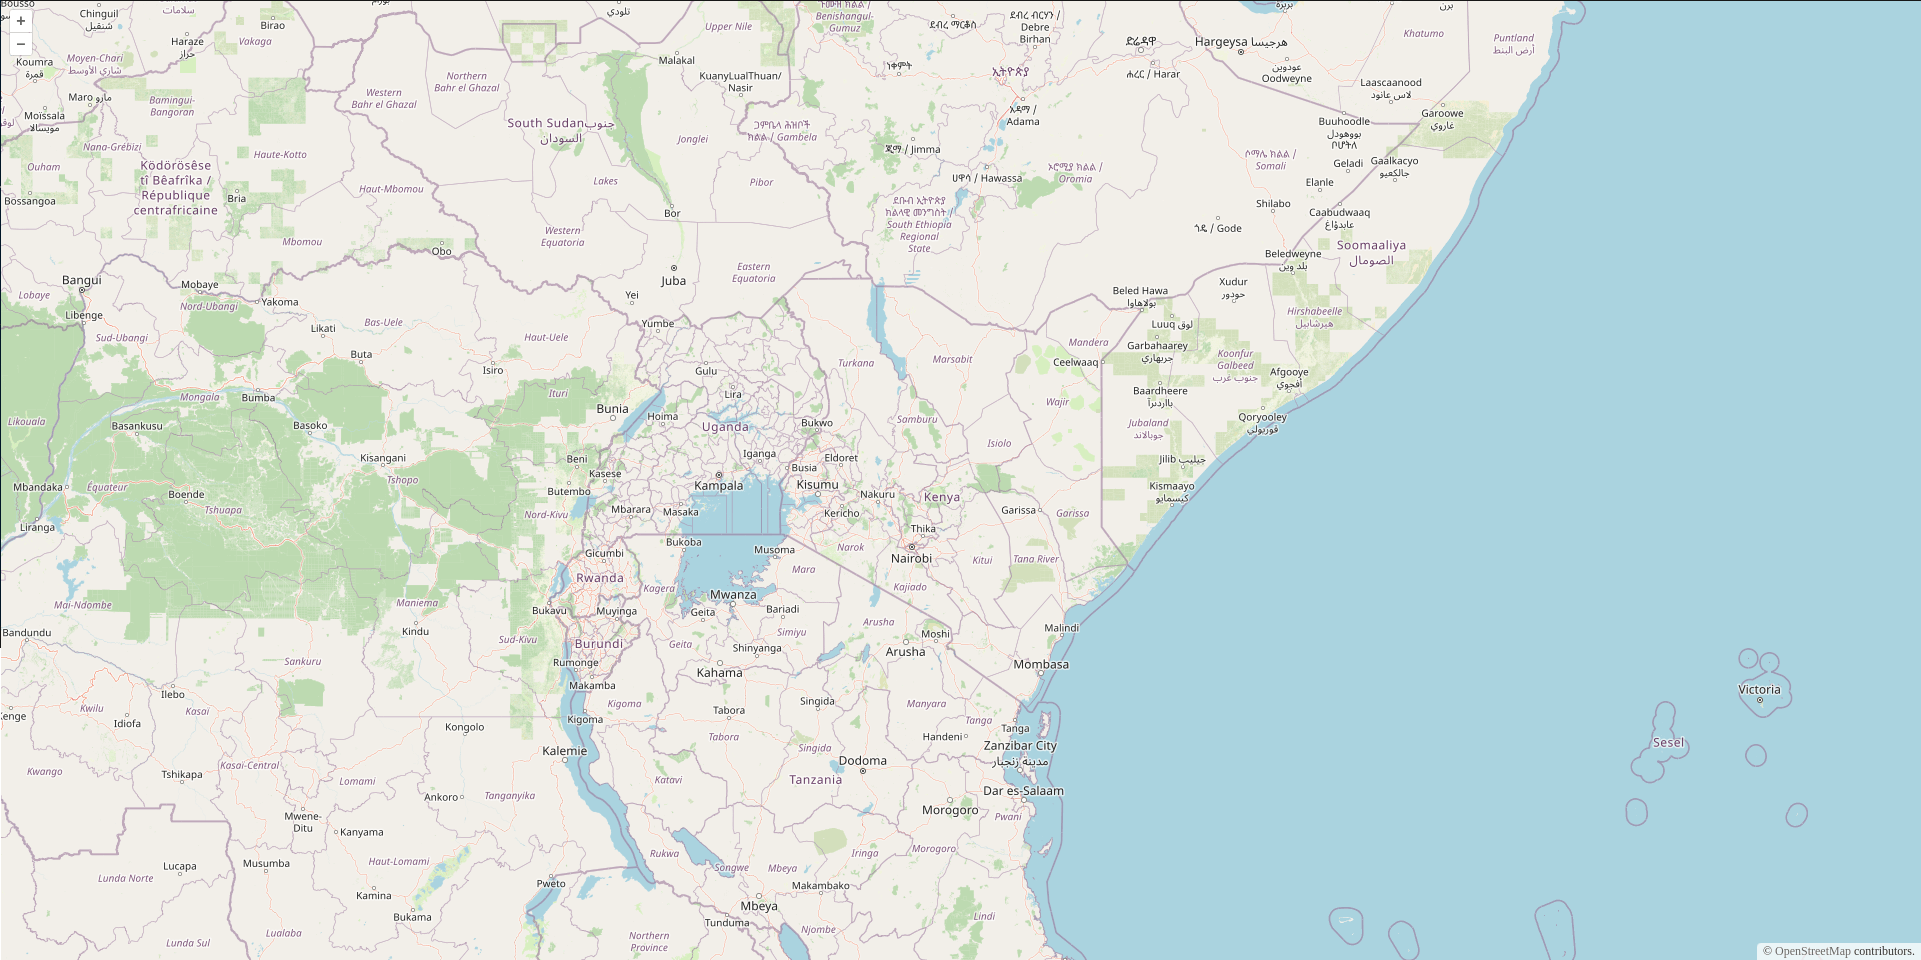
That's it! We have created our first map in OpenLayers using HTML, CSS and Javascript. The code for this project can be found at: https://github.com/KWangechi/mapminds-tutorials